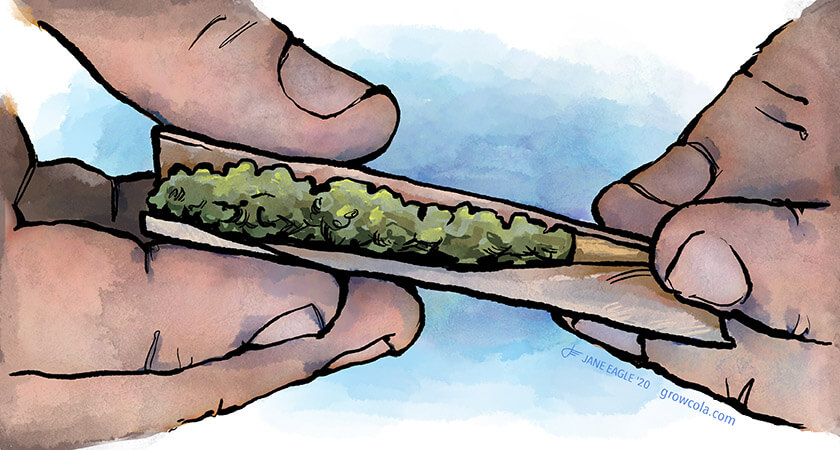
Whether you’re learning how to roll a joint for the first time or want to perfect your cannabis joint-rolling method, this is the guide for you. Really pay attention to what you’re doing, and you’ll be a pro in no time.
A joint is a cannabis wrapped in paper, usually with a filter or tip, that is lit and smoked. Three components construct a good joint: the cannabis, the paper, and the filter or tip. A filter is the rolled card mouthpiece that helps airflow, although it’s possible to construct a joint without one. The paper is a wrap that holds the cannabis together.
This guide will give an overview of how to fill a cone joint, how to make a hand-rolled joint, how to roll a joint using the credit card method, and how to use a joint roller.
You will need rolling papers, cannabis, and the items mentioned below. To make your cannabis easier to use, a metal or plastic grinder will help break it apart. If you don’t have a grinder, shredding the cannabis with your fingers is an option in a pinch.
Parts of a joint: the paper, the filter, the flower.
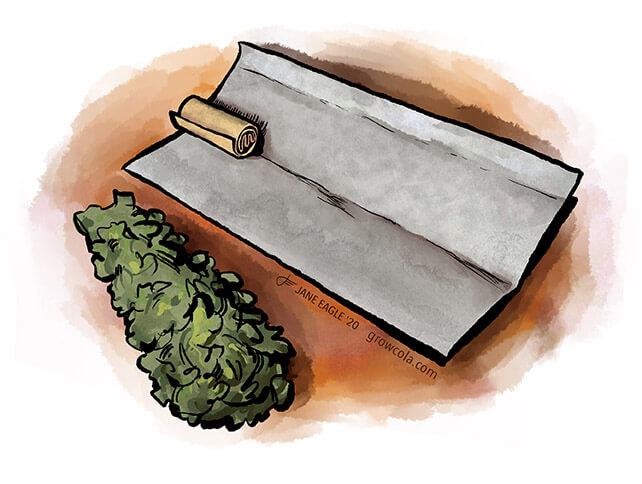
The Paper. The sheet of rolling paper will have a crease in the middle of it. The paper will have a shiny strip of adhesive along one edge. This will stick to itself when wetted and holds the joint together. Always wet the paper side of the adhesive.
The Filter. The filter creates airflow and is usually made of card or paper. Start by folding an accordion fold four or five times then roll the rest of the card around itself.
The Flower. Your cannabis of choice is ground up and ready to use. Usually, .5 to 1 gram of cannabis is needed per joint. Too much cannabis will prevent airflow from drawing easily.
Method one: How to roll a joint using the Cone
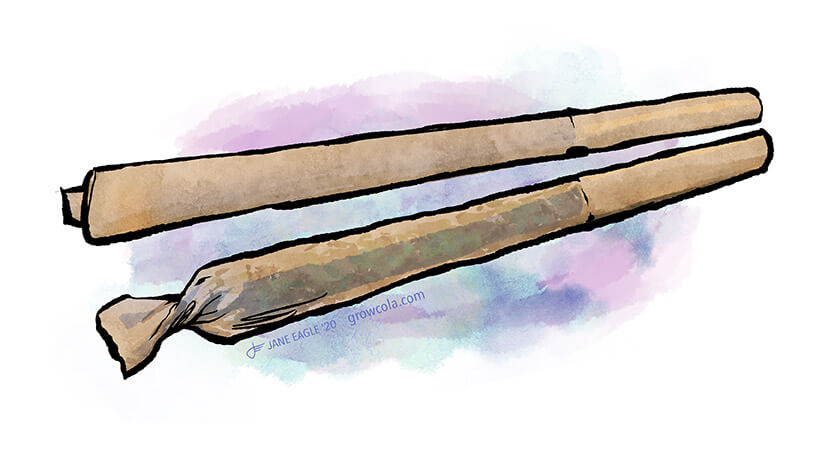
Using a pre-made cone is the easiest way to roll a joint. A cone is a pre-rolled joint paper with a tip and is perfect for first-time joint makers. Sold at every smoke shop by different brands, cones are typically available in three or more packs. A small plastic or paper straw is usually included as a tamper.
Step 1 and 2
Start by taking the pre-rolled cone out of the packaging.
Take the cannabis flower and little by little fill the cone. Use the straw to tamp down the cannabis into the paper cone.
Step 3 and 4
When the cone is 80% full, hold the opening and shake the joint like a packet of sugar.
Twist off the paper at the end of the joint. You have finished preparing your first cone joint.
Did you know?
Cash, ash, and “puff, puff, pass” are terms used among smokers. Puff, puff, pass is a common smoking etiquette for sharing a joint. Smoke twice before passing the joint along.
Cashing is to finish out the last cannabis in a bowl or pipe.
Ashing is when ash is knocked off a joint as a courtesy to the next smoker.
Method two: Rolling a joint using machine/roller
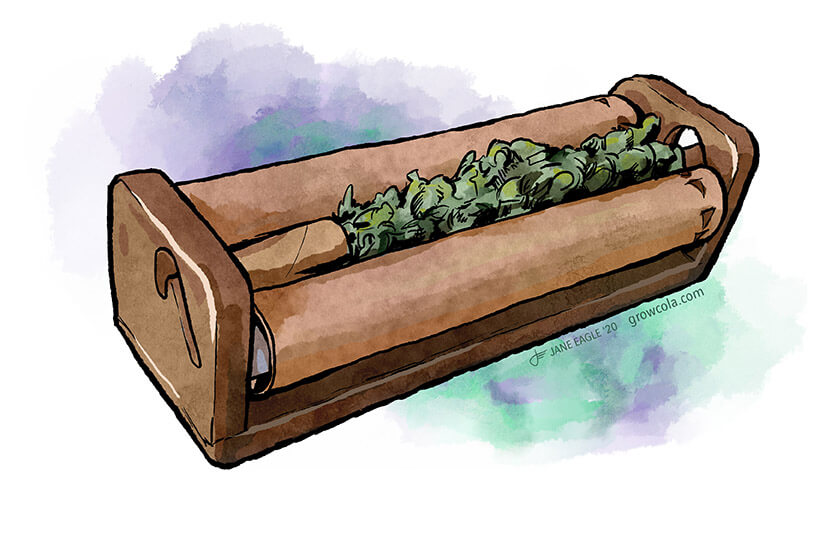
Joint rollers are great if you need help making a lot of joints for a party. If you have difficulty using your hands, the ease of a joint roller can make a world of difference. A joint roller creates near-perfect joints when used correctly. A note on filters: the filter or tip can be placed in the roller trough with the weed or inserted after the joint is wrapped.
Step 1 and 2
Place ground flower with or without a filter into the center of the device.
Shift the lever and roll the flower about three times until it forms a cylindrical shape.
Step 3
Feed the paper into the closed roller, with the shiny edge last.
Step 4
Roll the paper into the rolling machine half way with the glue part sticking out. It will wrap perfectly around the flower. Take out the joint and add the paper filter or tip.
Step 5
Remove the joint from the roller. If you followed the steps correctly then you should have a small, densely packed joint with just enough space to place the paper tip or filter into the joint. Lightly tamp the other end and twist!
Method three: Hand-rolled joint
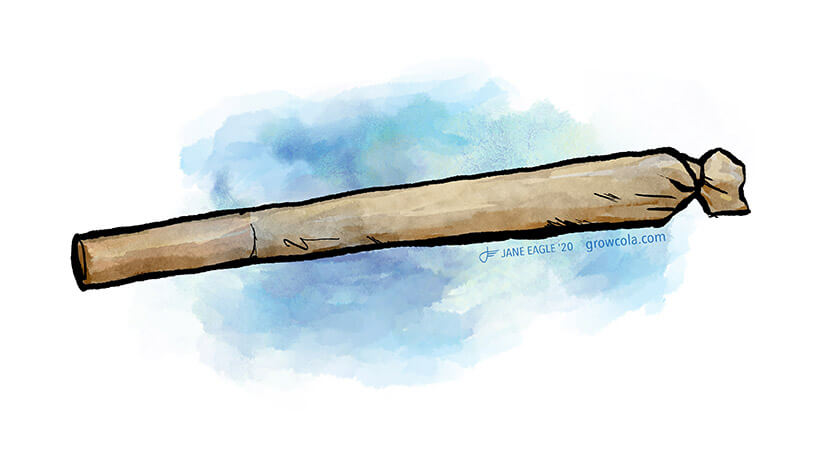
A joint is rolled cannabis flower in a sheet of rolling paper. The American joint may include a paper tip or not. A spliff is a half cannabis, and half tobacco rolled together and is common in the UK.
Step 1
Add your cannabis flower onto the paper, with the adhesive edge facing inwards. If using a tip, it can be placed on the crease.
Step 2
Begin to roll the paper in between your fingertips, forming a cylinder of flower.
Step 3 and 4
Tighten the roll and wrap the paper.
Wet the paper side of the adhesive edge (the adhesive facing inwards), and press it onto the joint.
Step 5
Tamp down and twist off the end.
Method four: Roll a joint using a credit card
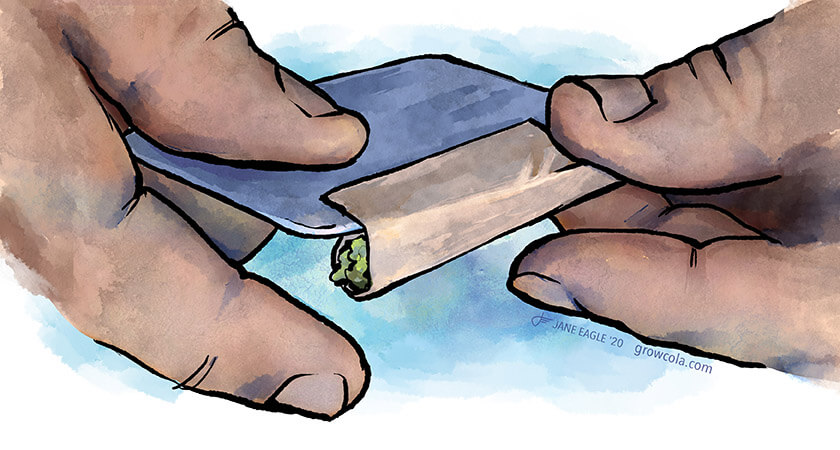
So now you can roll a joint, but maybe you aren’t great at it yet. Not a problem! Got an ID, a credit card, or a room key? Your joints will roll a little easier with this simple trick.
Step 1
Get your rolling paper and place a paper tip in the crease.
Step 2
Add your cannabis flower.
Step 3
Roll the joint by shifting the papers in between your fingers, creating a clean-looking packed joint.
Step 4
Place the papers against a table and use the hard edge of a credit card to crease the paper over itself.
Step 5
Tamp and twist, and voilà! You will have a perfectly tightened and beautiful looking joint.
Did you know?
Store your cannabis away from sunlight. Direct UV light will degrade the THC in cannabis. Airtight containers like jars, Ziplock bags, or specialized plastic containers are always useful to have on hand.
Conclusion
There are lots of different ways to smoke the good herb. Tips and tricks vary from smoker to smoker, but with practice, you’ll find your favorite ways to roll a joint. If rolling joints isn’t for you, there are glass, metal, ceramic, silicone, and electronic smoking devices available at many smoke shops.
For the resourceful, everyday household objects can be created into makeshift pipes. Experiment with your smoking style. If you need to brush up on your joint rolling technique, this guide will always be a good place to begin.


