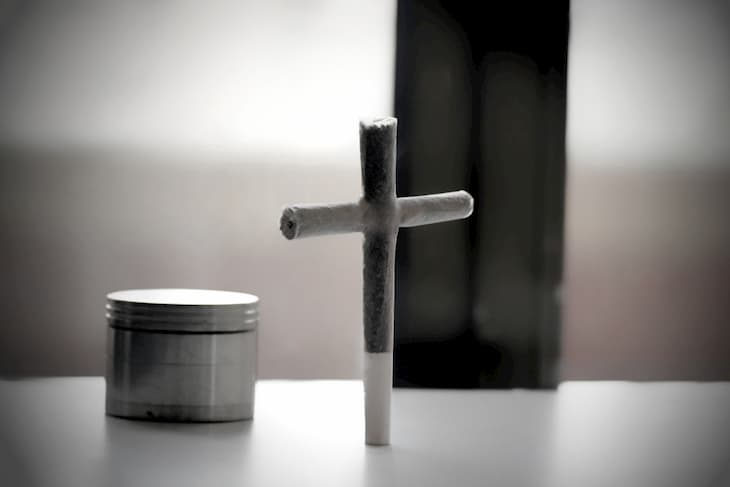
They say you’re not really a true marijuana lover unless you learn how to roll a cross joint. Well, you’d be surprised to know how easy it is, especially if you know how to roll a regular joint. So without further ado, let’s get the ball rolling.
How to roll a cross joint – explained in easy steps
You will need:
- Your choice of marijuana strain
- Tobacco (if want to mix with weed)
- Rolling paper
- Roach card
- A screw-on any similar item to make the hole
Now, the cross joint is made up of two joints, right? The cross part is, naturally, shorter than the main part. However, it needs to be thin enough to glide through the main joint with ease. For this purpose, we recommend making the main joint a bit larger to compensate.
Okay, so here’s how you want to make the cross part
To roll the smaller joint, you’re not going to need the roach. You will need to roll the joint in as flat a shape as possible – we need the content evenly distributed throughout the rolling paper – that’s very important!
Next, pop a hole in the middle of the joint
The hole should go through the joint but without tearing the roll. This is another crucial step as the hole will be the main point of entry, i.e., the roach you will draw in once it is lit. Use any sharp implement such as a thick toothpick or screw, but not those that may contaminate your roll, such as pens. Ideally, a 3mm wide screw should do the job nicely. In fact, the twisting motion of the screw will make a clean and consistent hole in the roll.
And now, for the main joint part
Go ahead and roll a regular joint. Easy, right? But we need to make a big fat one. No matter how much ‘content’ you decide to pack in the joint, you’re best off rolling a thick joint that can easily accommodate the cross-part.
The hole for your cross joint needs to be punched approximately three quarters up from the roach end. It’s essential to think about where you punch the hole – because where you place it will have a direct impact on how much smoking pleasure you can get out of it before the cross burns to ashes.
It may take a bit of guesswork to get both the cross and main joints to burn to ashes at the same time – but it’s an art that rewards plenty!
Here’s a useful tip: use a 5mm wide screw to pierce your rolling paper. Just like we did earlier, twist the screw through your rolling paper, ensuring there’s a consistent bore on each side.
And finally, here’s how to insert the cross part of the joint
Before anything else:
- Make sure the holes in both joints are fully clear on both sides.
- Glide the twisted end of the cross part of your joint through the hole in the main one.
- Support the hole on the side of the rolling paper using your fingers and pull the cross part through, but only slightly.
If you did this right, the hole should be aligned with the roach. Doing this correctly ensures that there’s a clear channel for the air to flow.

Almost done
You need to wrap the hole to seal off the join between your joints – thoroughly wet the glue strip from your rolling paper and wrap both sides – both top to bottom and front to back. After constructing our cross joint, we need to seal it properly. Wrap the hole from both sides by making multiple passes.
Good times! Puff puff, and don’t forget to pass.


